Two workflows for an AI anime series
Higgsfield’s October 31 guide covers building scenes from references and restyling existing footage into anime with Genjutsu.
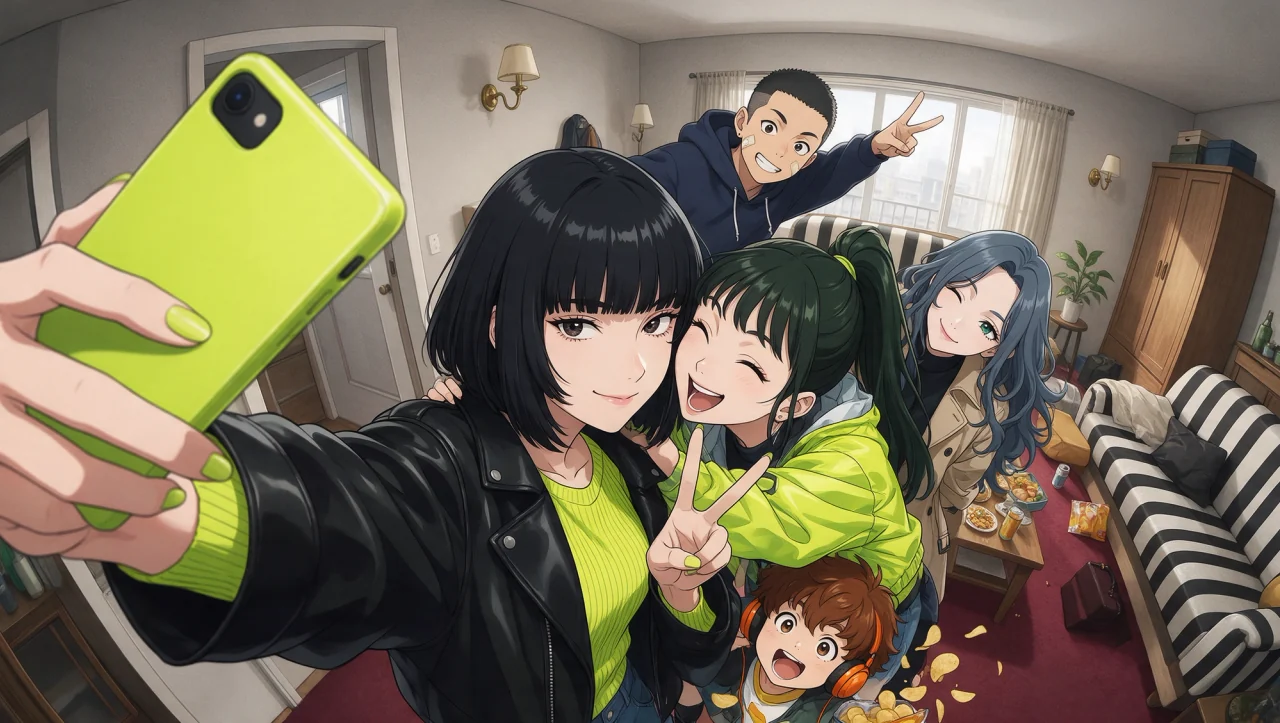
An anime series needs more than a collection of attractive generations. Characters must remain recognizable, actions must connect across shots, and sound must support the scene. Higgsfield’s October 31 guide describes two routes: build shots from prepared images, or restyle footage that already contains the movement. This review explains those routes and adds an editorial approach to checking a pilot.
Before generation: define a small, complete scene
Decide what the character wants, what interrupts the action and how the scene ends. Break it into shots, recording the location, characters, action and approximate duration of each. This establishes the material you actually need.
Prepare approved character references covering the face, proportions, costume, identifying details and relevant angles. Keep references for recurring locations and lighting, too. Define line work, shading and palette. Compare new shots with the approved design, rather than only with the previous generation, so accidental changes do not gradually become the standard.
For an initial exercise, we suggest three shots: a character notices an object, reaches for it and reacts. This is an editorial exercise, not a test we have performed. It is enough to expose problems with identity, movement and continuity.
Route 1: Soul 2.0 reference → Cinema Studio shot
Step 1. Establish the reference frame
In Soul 2.0, describe the character, setting, composition and anime style. Select an image for the specific shot. Check the face, hands, costume and room for the intended action. Turning toward the camera and walking across a room require different compositions.
Step 2. Move the approved image into Cinema Studio 4.0
The uploaded image establishes appearance; the motion description explains what happens next. Our editorial recommendation is to avoid changing identity, setting and action at once. If the output fails, a focused brief makes the cause easier to identify.
Step 3. Set camera movement and delivery format
Choose a movement in Camera → Movement. The source example uses Dolly in, an approach toward the character. The guide specifies durations of 4–30 seconds and 480p, 720p or 1080p output. Choose the aspect ratio for the intended release. These are Higgsfield settings; matching VIZURAI availability requires a separate check.
Step 4. Describe a readable action and review it
Keep movement consistent with the reference. A short head turn and a restrained camera approach are possible exercise instructions, not a supplier prompt. After generation, inspect identity, clothing, action and background before preparing the next shot.
Route 2: existing footage → anime in Genjutsu
Step 1. Choose the source movement
Use this route when a filmed or generated clip already contains the action. Select Motion transfer and upload a suitable segment. The guide specifies 4–30-second inputs; longer scenes need separate clips. Use footage you have permission to process.
Step 2. Apply style and character references
The guide demonstrates Cel-Shaded CG Anime. Keep a shared treatment across connected shots and add character references where identity matters. The stated limit for the main Genjutsu workflow is 30 reference images. Genjutsu Lite has different capabilities and up to ten references, so the modes should not be treated as identical.
Step 3. Compare source and output
Check the main action, gaze direction and camera movement, then compare appearance with the approved design. Preserved movement alone does not establish continuity of color, costume or line work with neighboring shots. The original publisher demonstration appears above.
Edit, sound and continuity
Arrange approved clips in story order and trim around the action. Check screen direction and character positions at cuts. Add dialogue, music and effects, then review speech clarity and visible lip synchronization separately.
- Identity and costume remain consistent throughout each shot.
- Props do not disappear or transform, and small details do not flicker.
- Cuts make the character’s position and movement understandable.
- Delivery framing preserves faces, action and subtitle space.
Editorial takeaway: establish that a small scene edits into a coherent sequence before increasing episode count. Iteration needs a production budget; a beautiful individual frame does not by itself solve series continuity.
Create your own result
Registration and generation will open at launch. Follow the project for updates in the meantime.
Sources
- How to Make an Anime Series with AI on Higgsfield Published by the source: