Higgsfield in Blender: from blockout to shot
An October 28 guide demonstrates scene building, 3D assets and video generation from Blender’s viewport in a step-by-step workflow.
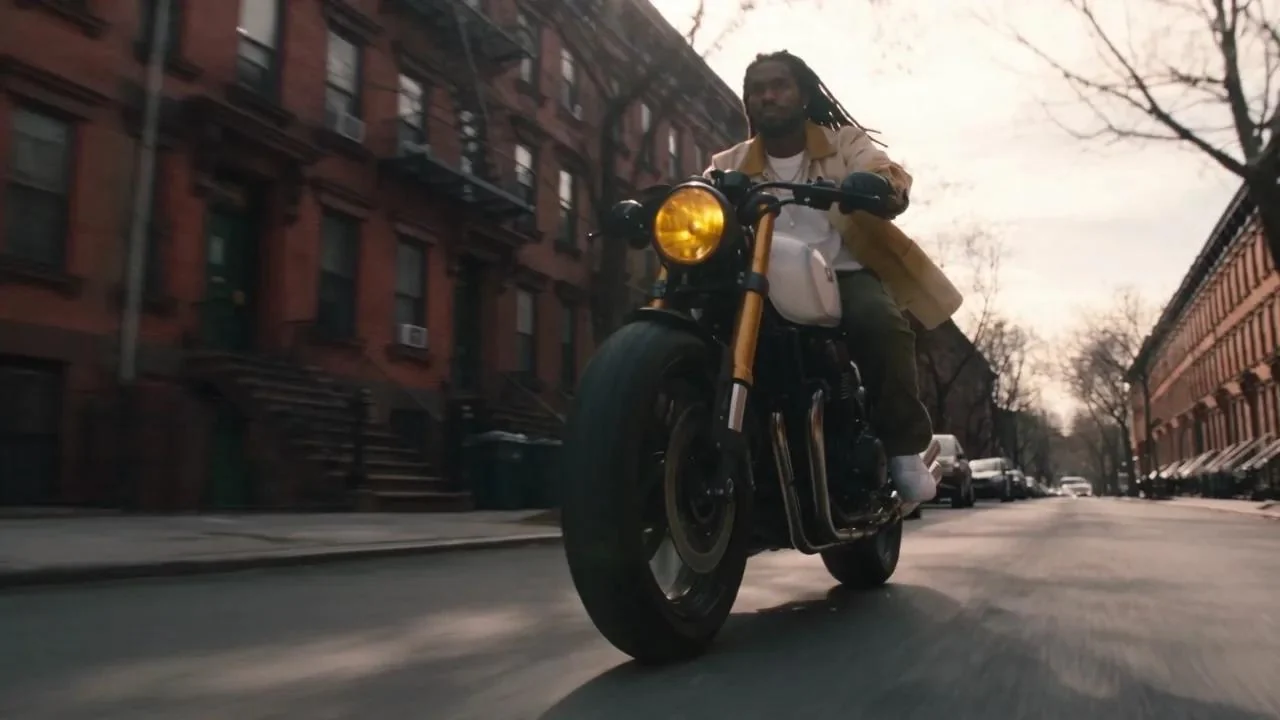
Higgsfield’s October 28 guide connects scene geometry, character movement and video generation inside a Blender workflow. The distinction between stages matters: first the creator controls an editable 3D scene, then uses it as the basis for cloud generation.
Requirements and installation
The article specifies Blender 5.1 or later, Windows or macOS, an internet connection and an active Higgsfield account. Generation runs in the cloud, while local hardware still affects Blender’s own rendering and viewport performance.
Download the plugin archive from Higgsfield’s official Blender page. The guide supports dragging it into Blender or using Edit → Preferences → Add-ons → Install from Disk, without extracting the archive. Enable the add-on and sign in. Installation is separate from paid generation; inspect the selected job’s price before Generate.
The toolbar’s roles
Seven sections cover Scene Builder, 3D Model, Character Animation, Image, Video, Camera and Asset. According to the supplier, Scene Builder creates editable geometry, so objects can be moved or scaled using Blender’s normal tools. This lets the creator refine staging before spending attempts on a final video shot.
From blockout to shot
Step 1. Establish a simple scene
Use Scene Builder for the set, primary objects and lighting. Our recommendation is to assess composition and space for action first. Surface detail cannot rescue a camera pointing at the wrong subject or a character hidden by foreground objects.
Step 2. Add character movement
Describe the action in Character Animation. The guide describes a rigged character and animation editable with standard Blender tools. Check starting and ending positions and whether the movement fits the planned shot.
Step 3. Add the necessary environment
Create props through 3D Model. Image can provide visual assets inserted as planes or connected to materials. Results appear in Asset, with access to their files on disk. Preserve the working scene separately from the output video so staging can be revised later.
Step 4. Generate from the scene
Use the assembled scene as a starting point for the video shot. The article names Seedance 2.5 for this route. Check settings, output count and the displayed cost before submission. Compare the result with the intended framing, action, lighting and important objects.
When Blender Bridge is needed
Direct plugin use and assistant control are different connections. The guide uses bridge.higgsfield.ai/mcp to connect an assistant to the installed add-on. The ordinary Higgsfield MCP address, mcp.higgsfield.ai/mcp, is a different endpoint. They should not be substituted simply because both use MCP.
Install the plugin and prepare Blender before configuring the appropriate connector in a compatible assistant and signing in. Supported actions depend on the client. This article does not establish that the connection is already configured in your application or VIZURAI.
A practical first exercise
An editorial exercise is a short scene with one character and a simple prop. Compare two camera positions to see which explains the action more clearly. Avoid changing every input at once; a small test helps identify the stage where results diverge.
- Before generation: is the composition readable and is there room for movement?
- After generation: do the action and important objects retain their meaning?
- For budgeting: have additional attempts been included?
- For revisions: are the scene, references and accepted settings saved?
The plugin uses Higgsfield credits. This review describes an external tool and publisher demonstration; we did not run a paid generation for the article.
Create your own result
Registration and generation will open at launch. Follow the project for updates in the meantime.
Sources
- Higgsfield for Blender: Features, Installation, and MCP Bridge Setup Published by the source: